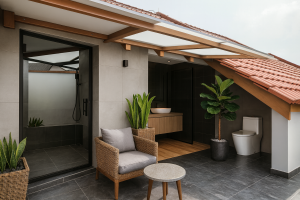
Waterproofing and Wet Works: The Hidden Stage That Decides If Your Reno Lasts
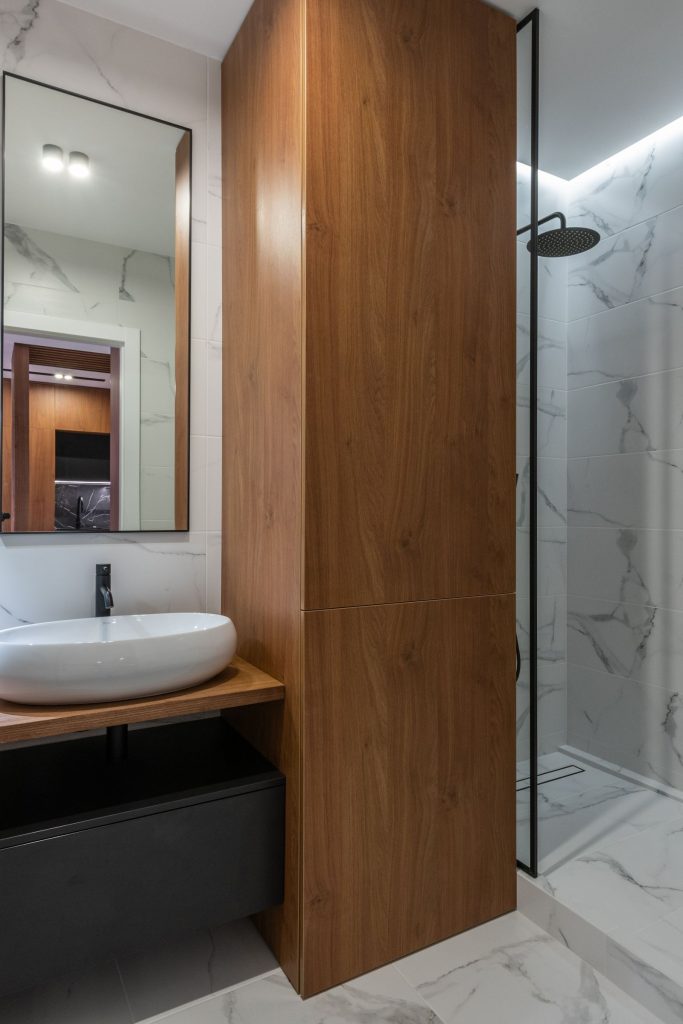
Pull up the floor trap in any older HDB bathroom and the real story of the last renovation is written underneath the tiles. Good waterproofing in a renovation Singapore homeowners trust is the part you never see — and that’s exactly the point. Bad waterproofing turns up two years later as a brown patch on the neighbour’s ceiling, a stack of WhatsApp messages, and a repair bill nobody wants to own.
This is the stage that decides whether your reno quietly lasts a decade or quietly leaks. At Reno Bros we treat wet works as the foundation of the whole bathroom, not a line item to rush so the tiler can start. Here’s what happens behind the tiles, and where it goes wrong.
Why the layer you can’t see matters most
Singapore is hot, humid, and stacked vertically. Most of us live above someone and below someone else. When a shower floor leaks, the water doesn’t evaporate politely. It tracks through the screed, finds the slab, and reappears on the ceiling of the unit below.
That’s where it stops being a building problem and becomes a relationship one. HDB will inspect, often using thermal imaging or a water test to trace the source, then mediate between the upper and lower flat. Under HDB’s Goodwill Repair Assistance (GRA) scheme, HDB may cover half the cost and the two households split the rest, so each side typically pays around 25%. Here’s the catch most people miss: GRA only applies to leaks from natural wear and tear where it isn’t clear who’s at fault. If the leak is traced to your renovation or sloppy waterproofing, GRA doesn’t kick in at all, and as the upstairs unit you foot the entire repair bill yourself.
So waterproofing isn’t really about your bathroom. It’s about the slab you share with whoever lives below, and how cheap that skipped ponding test feels the day their ceiling stains.
What proper wet works involves
Wet works is the umbrella term for everything that touches water and screed: hacking, levelling, the falls to the floor trap, the membrane, and the ponding test. Done in the right order, each step protects the next.
A correct bathroom waterproofing build usually runs like this:
- Hack and clean the existing finishes down to a sound substrate (resale flats almost always need this; BTO bathrooms can’t be hacked for the first three years).
- Lay the falls so the floor slopes to the trap. No gradient, no drainage, standing water every shower.
- Apply the membrane in at least two coats. Cementitious systems should reach roughly 2-3mm dry-film thickness; PU membranes around 1-1.5mm, in line with BCA’s guide on waterproofing for internal wet areas.
- Carry the membrane up the walls as an upturn, minimum 150mm, and 300mm at shower walls where splash and capillary action push water higher than people expect.
- Let it cure, then run a ponding test before a single tile goes down.
Skip the upturn and the wall corners become the weak point. That’s the spot we see fail most often in flats done on the cheap.
Flood it, wait 48 hours, then look down
Once the membrane has cured, the bathroom floor gets flooded to roughly 25mm of standing water and left undisturbed. The honest version of this test runs 24 to 48 hours, not the twenty-minute “looks dry, carry on” some crews try.
While it sits, someone checks the unit below for damp patches or that telltale sweating on the ceiling. If anything shows, you fix the membrane now, while it’s exposed and cheap to redo. Find it after the tiles, the sintered-stone vanity and the glass screen are in, and you’re hacking a finished bathroom apart.
This is also why curing time can’t be negotiated down. A membrane that hasn’t fully cured will pass a rushed glance and fail in real life. Allow it the 48 hours of air cure before testing. There’s no shortcut chemistry for this.
What it costs, and what the cheap quote leaves out
Numbers move with scope, but as a current 2026 guide in Singapore:
- Stand-alone waterproofing for a single toilet typically runs S$400-S$800.
- Full wet works per toilet (hacking, waterproofing, re-tiling) is more like S$3,000-S$5,900.
- A complete HDB bathroom with plumbing, tiling and sanitary ware usually lands between S$5,500 and S$12,000.
When one quote is suspiciously lower than the rest, the missing money is almost always here. A thin single coat instead of two. No proper upturn. A token ponding test, or none. You won’t see the saving on day one. You’ll feel it when the GRA paperwork arrives and you discover it doesn’t cover you. On any waterproofing renovation, Singapore homeowners learn the same lesson the hard way: the cheapest line on the quote is a near-guarantee of the most expensive problem later.
What HDB will and won’t let you touch
A few things in this space aren’t optional, and a good contractor will raise them before you ask.
For BTO flats, HDB bars you from replacing the original bathroom wall and floor tiles for three years from the block’s completion (TOP) date, because there’s a tested membrane underneath that needs time to prove itself in real use. You can still overlay tiles on top and swap out the WC, basin and taps. You just can’t hack down to the slab and disturb the waterproofing early.
For resale or post-three-year flats, hacking and re-waterproofing wet areas needs an HDB renovation permit and a contractor listed in HDB’s Directory of Renovation Contractors (DRC). If you’re touching sanitary plumbing, a PUB Licensed Plumber comes into it too. Noisy works such as hacking and drilling are restricted to weekdays, Monday to Friday, 9am to 5pm only — not on Saturdays, Sundays or public holidays. Quieter, non-noisy renovation works may run 9am to 6pm, Monday to Saturday. Workmanship should follow BCA’s waterproofing guidance and SS 637. Get this part wrong and you’re not just fixing a leak — you’re explaining to HDB why the works were never approved.
Common questions before the tiles go down
How long should I let waterproofing cure before tiling?
Allow the membrane to fully cure, typically around 48 hours of air curing, then run the ponding test for 24 to 48 hours before any tiling. Rushing either stage is the single most common cause of bathroom leaks we’re called back to inspect.
My BTO bathroom is new. Do I still need waterproofing?
Not for the first three years if you keep the original tiles, because HDB already laid a tested membrane. If you overlay tiles, the existing waterproofing stays intact underneath. Only once you hack down to the slab does fresh waterproofing become your responsibility.
What if the leak is coming from the unit above me?
Report it to HDB. They’ll inspect, trace the source and mediate between both households, with cost-sharing under the GRA scheme only if the cause is wear and tear and fault isn’t clear-cut. If the leak is traced to the upper unit’s renovation, that owner bears the full repair cost. Document everything with photos and dates from the start; it makes the conversation far less painful.
Can I waterproof a kitchen or balcony the same way?
The principle is the same, membrane plus falls plus testing, but the detailing differs. Kitchens need attention around the sink and washing-zone, and open balconies face sun and rain, so the membrane spec changes. Don’t assume one approach covers every wet zone.
Nobody ever thanks you for good waterproofing
They only notice it the day it fails, and by then it’s a hacked-open bathroom and a neighbour’s WhatsApp at 11pm. That’s exactly why it deserves the discipline most homeowners reserve for the finishes they can photograph. If you’d like a wet-works build that’s done in sequence and properly tested, take a look at our past projects, see the full range of renovation services, or contact the team. You can also message Reno Bros on WhatsApp and we’ll walk you through it.
Related Reads
- Bathroom Renovation Tips for a Safer, Smarter Home
- Permit Guide for HDB Hacking, Wet Works and Renovation Approvals
- The Hidden Costs of Renovation: How to Budget for Quality in 2026
Related Resources
{“@context”:”https://schema.org”,”@graph”:[{“@type”:”FAQPage”,”mainEntity”:[{“@type”:”Question”,”name”:”How long should I let waterproofing cure before tiling?”,”acceptedAnswer”:{“@type”:”Answer”,”text”:”Allow the membrane to fully cure, typically around 48 hours of air curing, then run the ponding test for 24 to 48 hours before any tiling. Rushing either stage is the single most common cause of bathroom leaks we’re called back to inspect.”}},{“@type”:”Question”,”name”:”My BTO bathroom is new. Do I still need waterproofing?”,”acceptedAnswer”:{“@type”:”Answer”,”text”:”Not for the first three years if you keep the original tiles, because HDB already laid a tested membrane. If you overlay tiles, the existing waterproofing stays intact underneath. Only once you hack down to the slab does fresh waterproofing become your responsibility.”}},{“@type”:”Question”,”name”:”What if the leak is coming from the unit above me?”,”acceptedAnswer”:{“@type”:”Answer”,”text”:”Report it to HDB. They’ll inspect, trace the source and mediate between both households, with cost-sharing under the GRA scheme only if the cause is wear and tear and fault isn’t clear-cut. If the leak is traced to the upper unit’s renovation, that owner bears the full repair cost. Document everything with photos and dates from the start; it makes the conversation far less painful.”}},{“@type”:”Question”,”name”:”Can I waterproof a kitchen or balcony the same way?”,”acceptedAnswer”:{“@type”:”Answer”,”text”:”The principle is the same, membrane plus falls plus testing, but the detailing differs. Kitchens need attention around the sink and washing-zone, and open balconies face sun and rain, so the membrane spec changes. Don’t assume one approach covers every wet zone.”}}]},{“@type”:”Article”,”headline”:”Waterproofing and Wet Works: The Hidden Stage That Decides If Your Reno Lasts”,”author”:{“@type”:”Organization”,”name”:”Reno Bros Interior”},”publisher”:{“@type”:”Organization”,”name”:”Reno Bros Interior”},”about”:”Waterproofing and wet works in HDB and home renovation in Singapore”}]}